Hilarious video of our 2014 road trip to 22 states and 15 national parks...


Ram ProMaster RV Camper Van Conversion - Walls, Ceiling and Overhead Cabinets
This is the original conversion we did. If you are looking for the index page of this project, click here. If you want to see the new build, click here.Wall Covering
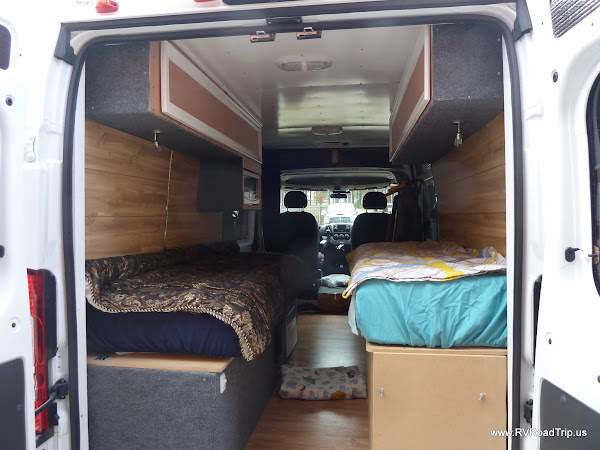
The van came without anything other than paint on the interior walls. There are so many options for wall covering that we are having a hard time deciding, but in order to build in the bed frames, we had to get something up. The lower half of the walls will not be visible as the bed frames and mattresses will cover them, so it didn't really matter what we covered them with. We decided to go the inexpensive route and cover them with 1/16" plastic wall boards.
Step 1 was to cut them to size and to fit around the fender wells. The passenger side will require a vent for the fridge but we aren't planning to install the fridge any time soon, so we did not cut a vent hole at this time. We bought some automotive clips to hold the plastic sheets in place. This was the simplest way to do it as the holes are already pre-drilled in the van from the factory. The left side went up quite easily. The driver's side will hold the A/C unit so a large vent is necessary in the side wall of the van. We ordered a 12" x 12" vent from the UK. We could not find a US supplier for the size and type of vent we wanted to use so we ended paying $15 for the vent and $16 shipping. We installed the wall panel then cut the section out where the A/C will vent through.
The upper portion that is visible is covered with ordinary paneling. It isn't the greatest but it gets the job done. The driver's side wall covering is hinged in the middle to allow access to the framing behind the paneling. This is where we store the window covers when they are not in use. Pretty cool idea, we think.

Ceiling Covering
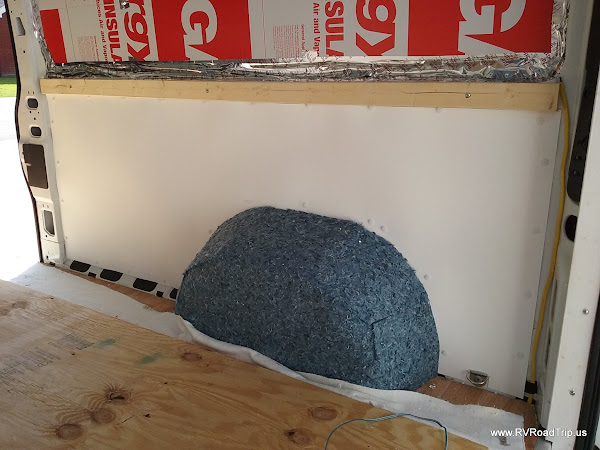
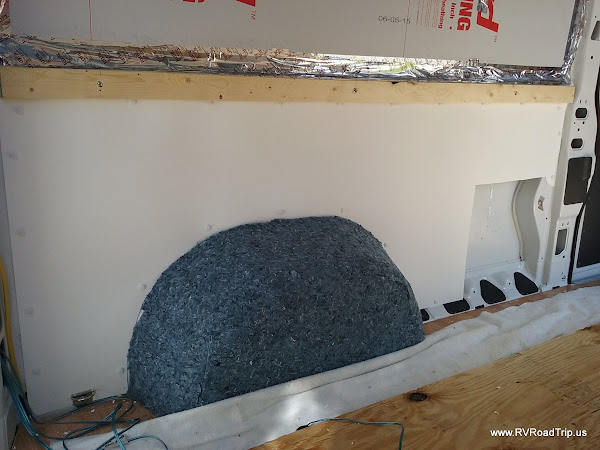
The ceiling is double insulated with a layer of denim insulation glued to the metal, then a layer of Reflectix. Yes, we have a nice air gap between the denim and the Reflectix. Hopefully, this will help keep the heat out in the hot summers and also make it so the A/C doesn't have to work so hard. The visible covering is a white hardboard held in place by screws. We originally thought about painting or covering the screw heads but decided it looked just fine the way it was. We have 2 bright white LED lights overhead and they are controlled by a switch at the rear of the van (where we always get in and out while camping).

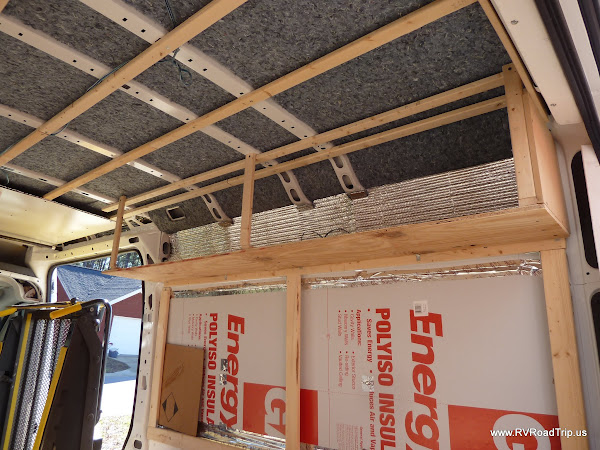
Overhead Cabinets
The cabinets over each bunk will serve as storage, most likely for our clothes. On Jerry's side there is also a spot to hold a small microwave oven. The cabinets were framed with 1x2s then covered with thin plywood. We will cover the whole thing with speaker cloth once we finish the woodwork. Here are some pictures of the build showing the framing as the thin plywood covering. We have not yet installed the cloth covering.